Propagating variegated plants can sometimes be a tad more challenging. When propagating variegated succulents, our goal is to encourage new growth that retains this desirable variegation. Variegation in plants is often a result of a genetic mutation that affects chlorophyll production in certain cells. These non-chlorophyllous areas lack the primary pigment responsible for photosynthesis. This means that variegated leaves may be slightly less efficient at producing energy for the plant compared to their fully green counterparts. There's always a slight chance that new growth might revert to solid green or produce less prominent variegation.

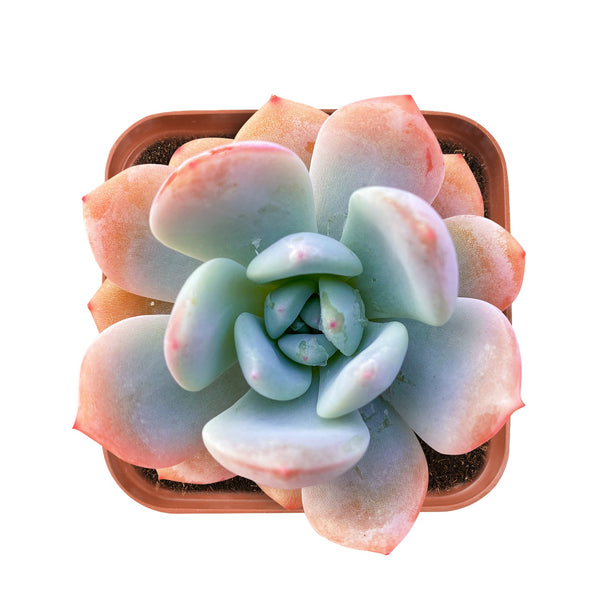
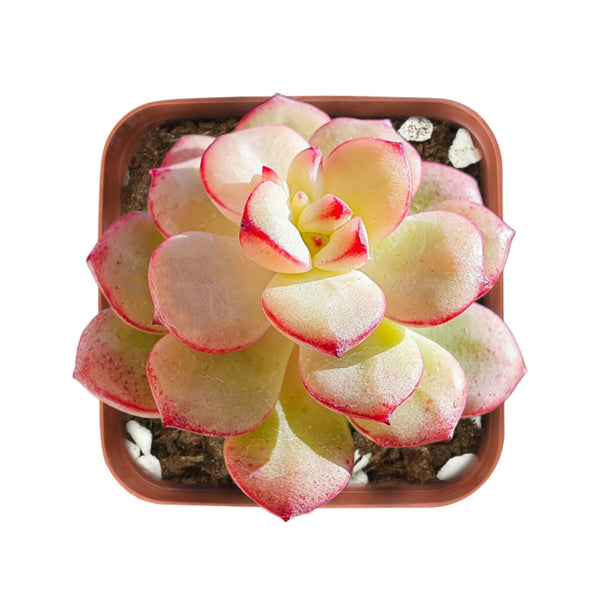
Cotyledon orbiculata cv. Variegated, known for its striking pink and yellow variegated leaves and plump form, is a prized addition to any succulent collection. Their stunning coloration—a result of genetic mutation—can revert to green if propagated incorrectly. Proper techniques ensure the variegation remains stable while avoiding rot or stunted growth. In this comprehensive guide, we will explore effective methods for propagating Cotyledon orbiculata variegated.

How to propagate Cotyledon Orbiculata cv. Variegated?
1. Stem Cuttings Propagation
Stem cuttings are one of the most effective methods for propagating variegated Cotyledon orbiculata. Unlike leaf propagation, which relies on fragile meristematic cells, stem cuttings utilize mature vascular tissue that already contains the genetic blueprint for variegation. This method reduces the risk of reversion to green and accelerates establishment.

Step-by-Step Guide:
-Sterilize Your Tools
Wipe pruning shears or a sharp knife with 70% isopropyl alcohol or a bleach solution (1 part bleach to 9 parts water). Rinse and dry before cutting. Sterilization prevents bacterial or fungal infections, which are common causes of rot in succulent cuttings.
-Choose a Stem and make the cut
Choose and cut off a healthy, actively growing stem with 2–3 leaf nodes (the small bumps where leaves attach). Prioritize stems that show balanced variegation—avoid stems with overly pale or entirely green sections. Leaf nodes contain dormant root-forming cells (auxiliary buds). A stem with multiple nodes ensures backup growth points if one node fails. Variegated stems with stable color patterns are more likely to produce variegated offspring.

-Callusing the Cutting
Place the cutting in a warm, shaded, and dry location (e.g., a ventilated shelf) for 2–3 days until the cut end forms a dry, cork-like callus. Succulent stems store water in their tissues. Planting a fresh, uncallused cutting in soil can lead to moisture absorption through the wound, causing rot. The callus acts as a protective barrier.
-Preparing the Soil and pots
Combine 30% inorganic grit (perlite, pumice, or coarse sand) with 70% cactus soil. Avoid organic-heavy mixes that retain moisture.
Prepare planter pots that are 2 to 4 inches wide, ensuring they have drainage holes. If you are going to plant the stem cuttings in one pot, choose a bigger one that ensure the space between the plants are enough for roots to establish.
-Planting the Stem Cutting
Spray a little water and slightly mosit the soil mix and stir it. Fill a small pot with the soil mix. Insert the callused end 1.5-3 cm deep, ensuring at least one node is buried.

Do NOT water immediately. Wait 5–7 days before the first watering. Delay Watering encourages the cutting to focus on root growth rather than absorbing excess moisture. Early watering can drown developing roots.
Variegated cuttings may take slightly longer (up to 6 weeks) due to reduced chlorophyll. When the cutting feels firmly anchored when gently tugged or the new leaf growth emerges from the stem tip or nodes. These are the signs of propagation success.
2. Offsets (Pups) Propagation
Offsets, often called "pups," are genetically identical clones that form at the base of mature Cotyledon orbiculata variegated plants. This method is ideal because it preserves the parent’s variegation and bypasses the unpredictability of seeds or leaf cuttings. Offsets already have a head start with their own roots and leaves, making them one of the safest and most reliable propagation techniques for variegated succulents.

Step-by-Step Guide
-Identifying Healthy Offsets
Choose pups that are at least 1/3 the size of the parent plant and have 3–4 well-variegated leaves. Ensure they have developed their own root system (visible as fine white roots near the base). Larger offsets have stored more energy and roots, increasing their survival rate after separation. Small pups may lack the resources to sustain themselves.
-Timing is Key
Propagate in spring or early summer when the parent plant is actively growing. Avoid winter, as dormant pups struggle to root. Warmer temperatures and longer daylight hours stimulate root growth and reduce transplant shock.
-Sterilize The Tools
Clean a sharp knife or scissors with 70% isopropyl alcohol to prevent bacterial/fungal transfer. Open wounds on both the parent and pup are vulnerable to infections, which can lead to rot.
-Separating the Offset
Gently brush away soil around the pup’s base to expose its connection to the parent. If roots are intertwined, use the sterilized tool to cut vertically between the parent’s stem and the pup, ensuring the pup retains as many roots as possible. For loosely attached pups, a gentle twist-and-pull motion may suffice. Intact roots minimize stress and allow the pup to absorb water and nutrients immediately after planting.

-Healing the Wounds
Dust the cut area on the parent with cinnamon powder (a natural antifungal) or sulfur powder. Let the pup dry in a shaded, well-ventilated area for 24–48 hours to callus any cut surfaces. Callusing prevents pathogens from entering the parent and pup while sealing moisture inside.
-Potting the Offset
Use a gritty, well-draining mix(same recipe as stem cuttings propagation). Choose a shallow pot (4–5 inches wide) with drainage holes. Terracotta is ideal for breathability.

Place the pup in the center of the pot, spreading its roots gently. Bury the roots just deep enough to stabilize the plant—avoid covering the stem or leaves. Do NOT water immediately. Wait 3–5 days before the first watering.
Key Precautions for Success
1. Avoid Rot at All Costs:
● Never let water pool on the soil surface. Use pots with drainage holes.
● If the stem base turns black/mushy, immediately cut above the rot, re-callus, and replant.
2. Variegation Stability:
● If new growth reverts to green, prune the green section to redirect energy to variegated parts.
● Ensure consistent bright light—low light triggers chlorophyll production, masking variegation.
3. Handling Slow Growth:
Variegated cuttings grow slower than normal due to limited chlorophyll. Patience is key—avoid over-fertilizing to force growth.
4. Rooting Hormone (Optional):
Dip the callused end in IBA (indole-3-butyric acid) rooting powder before planting. This stimulates root cell division and can shorten rooting time by 1–2 weeks.
Cotyledon orbiculata 'cv.' can be propagated in water to grow roots. If you are interested in propagating succulents in water, you can click on "How To Grow Succulents In Water" for the full guide.
Final Thoughts
In conclusion, propagating your variegated Cotyledon orbiculata cv., while requiring a touch more attention due to the nature of variegation, is a thoroughly achievable and rewarding endeavor. By patiently employing methods like leaf or stem cuttings, and especially by carefully separating offsets when available, you can successfully multiply this stunning succulent and share its unique, painterly beauty. Remember that selecting healthy, well-variegated parent material and providing the right environmental conditions, particularly bright, indirect light, and well-draining soil with judicious watering, are crucial for encouraging healthy growth and maintaining those beautiful variegation colors.