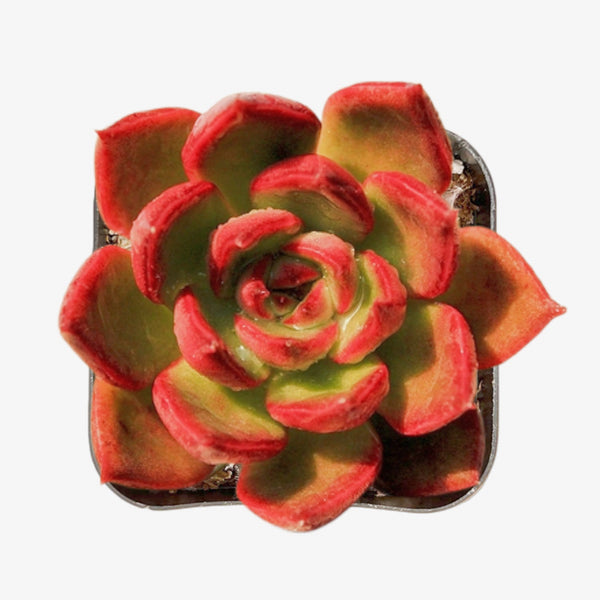
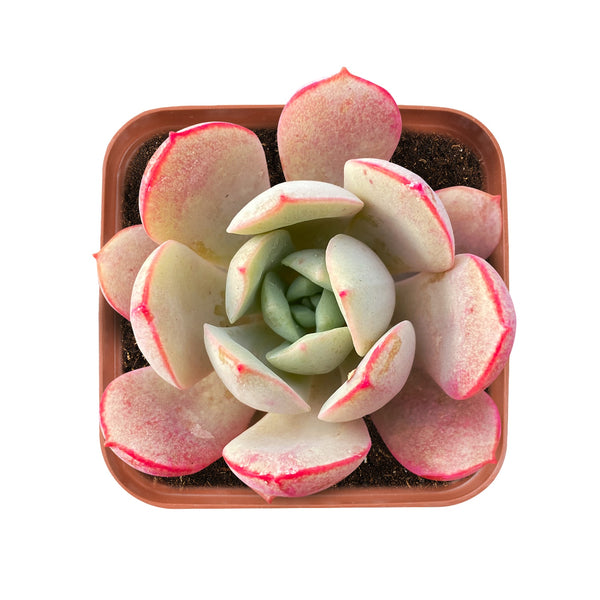
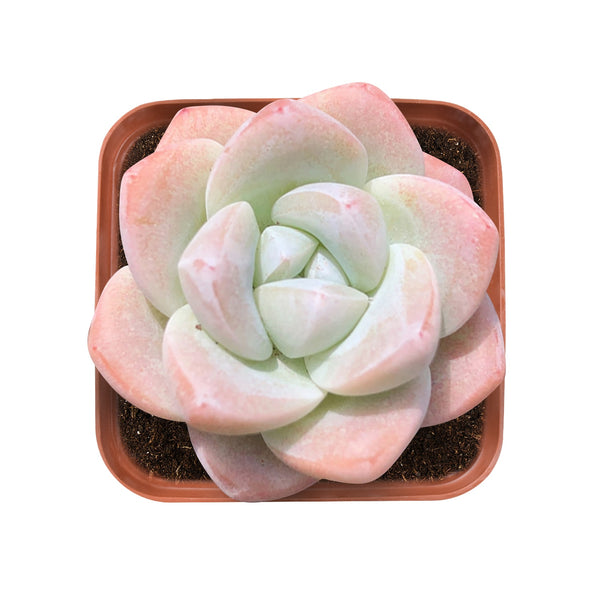
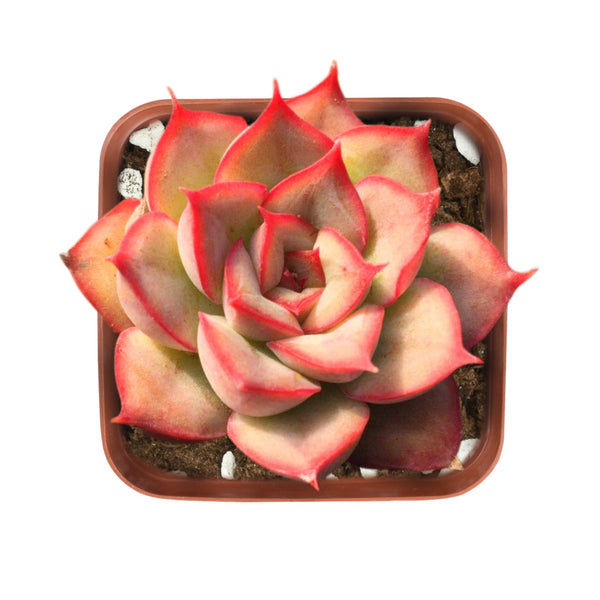
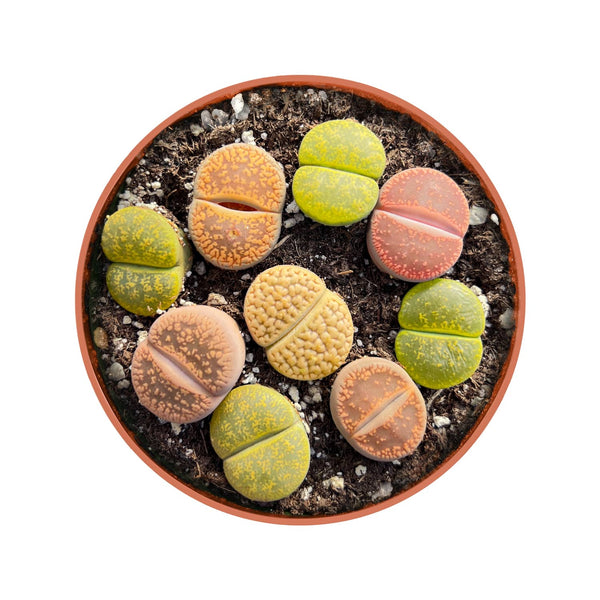
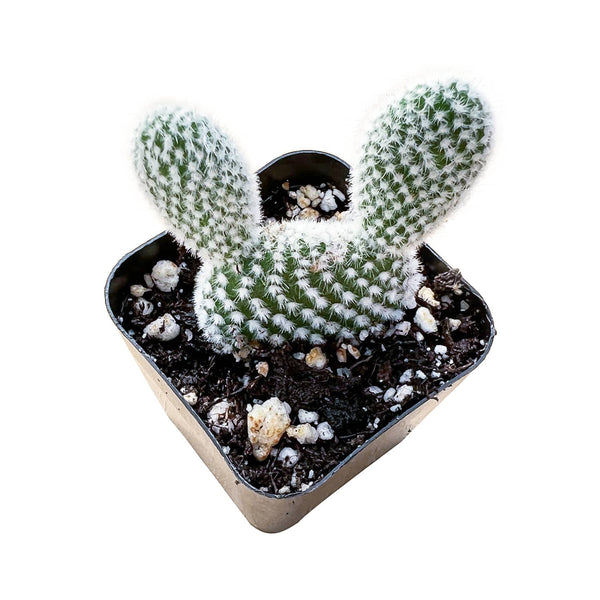
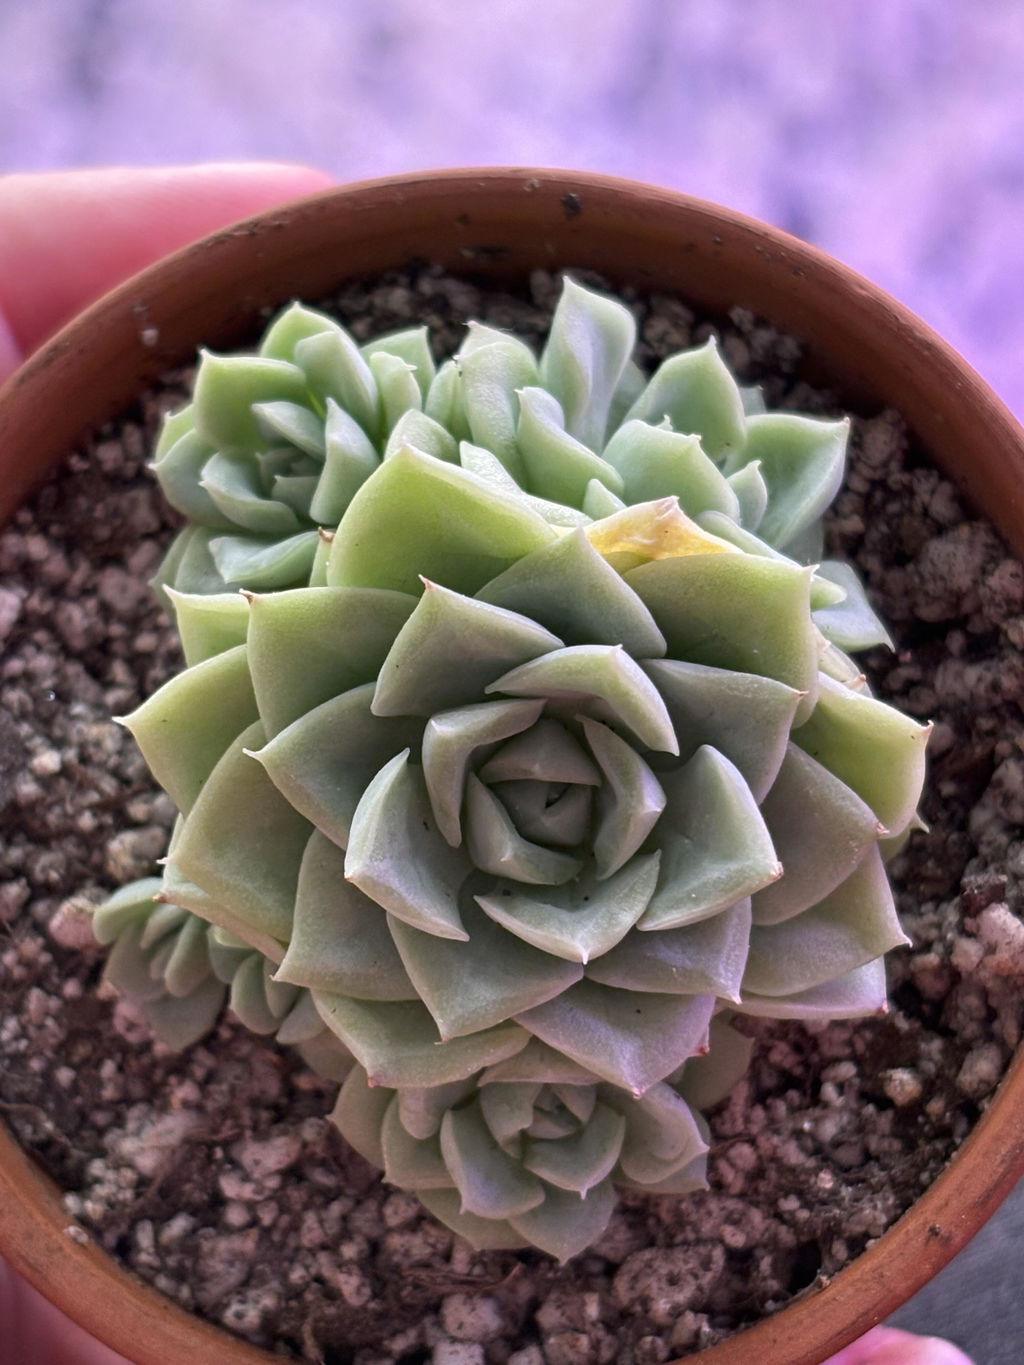
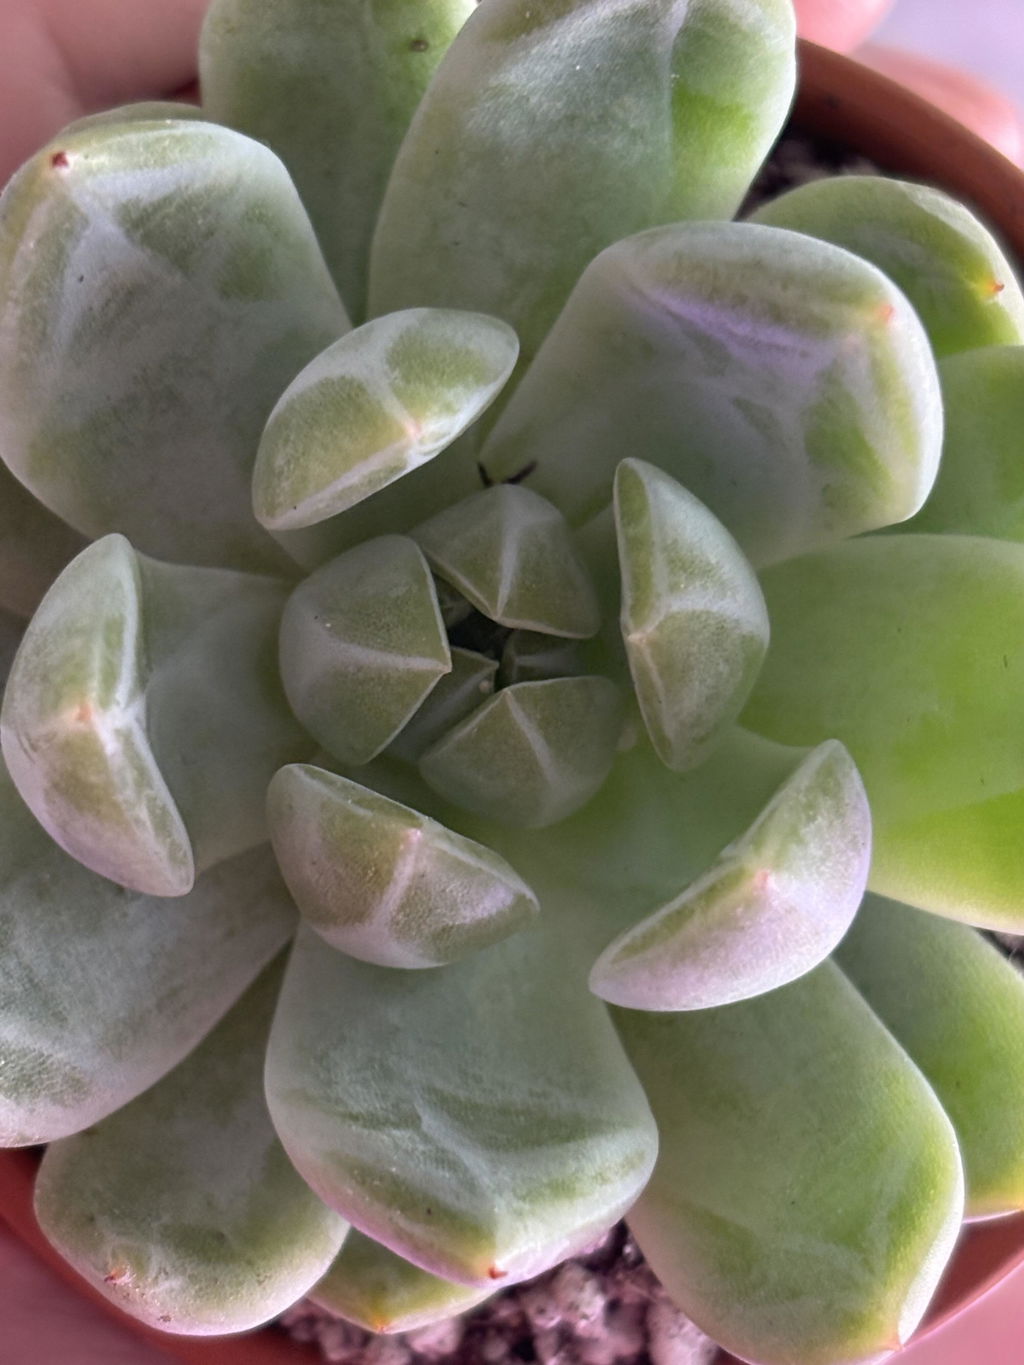
Controlled Cultivation is a precise, intentional method of shaping succulents through "aesthetic stress." By meticulously fine-tuning variables like light, soil composition, and temperature, we shift the plant’s focus from rapid growth toward visual perfection. This process essentially "trains" the succulent to withstand specific environmental challenges, triggering its natural potential to adapt and thrive. The result is a compact, jewel-like specimen with thick, turgid leaves and vibrant colors that truly pop—avoiding the "leggy" or overgrown look of conventional care.

Why Do We Do Succulent Controlled Cultivation?
The two primary goals are:
Form Control: Keeping the plant compact, the leaves thick and chubby, to prevent it from becoming leggy or stretched.
Color Enhancement: Triggering the production of pigments to vivid colors, bringing out vivid shades of red, yellow, and purple, even the coveted "sugar heart" of some succulent varieties.
Can We Start Controlled Cultivation Any Time?
Absolutely no! The essence of "controlled cultivation" is, in reality, the continuous exposure of succulents to harsh environmental conditions as a form of rigorous training—much in the same way that humans repeatedly visit the gym to work out in order to sculpt a perfect physique. However, it is crucial to recognize that the prerequisite for hitting the gym is, first and foremost, being in good health and physically capable of withstanding the strain; if one attempts to exercise while already ill, the only result will be an aggravation of the condition. By the same token, succulents can only undergo controlled cultivation on the fundamental premise that the plant itself is healthy.

Succulents Suitable for Controlled Cultivation:
1. Succulents that are healthy and in a vigorous growth phase (provided they are not etiolated/leggy);
2. Healthy, mature succulents (often referred to as "woody stems") that are two years old or older;
3. During summer or winter dormancy periods (undertaken primarily for the plant's survival, rather than to induce vibrant coloration).
Succulents Unsuitable for Controlled Cultivation:
1. Young babies grown from leaf cuttings, or recently beheaded cuttings that have just begun to root;
2. Succulents just finished the repotting work. (within 3 months);
3. Succulents exhibiting weak growth, or those currently recovering from pest infestations or diseases;
4. Succulent plants with underdeveloped or compromised root systems.

How to Do Succulent Controlled Cultivation?
1. Choosing the Right Container: Small & Breathable
Size Matters: A small pot is essential for controlling your plant's environment. Choose a planter that matches the size of the succulent or is, at most, 1–2 cm wider.
Depth Control: Aim for an effective succulent soil depth of 5–6 cm. Shallow pots dry out faster, which is key for precise watering. For deeper pots, simply "floor" the bottom third with clay pebbles to reduce the soil volume.

Material: Stick to breathable options like unglazed terracotta or Maifan stone. These materials prevent "wet feet" by allowing moisture to evaporate through the walls, keeping the roots healthy and the growth compact.
2. The Soil Secret: Precision Porosity
For 'Snow Jenny' to reach its full potential, the soil must be fast-draining and lean. We want the plant to work for its water, creating thick, "jelly" leaves instead of long, weak stems.
The Recipe:
80% Grit/Inorganics: Use a blend of Pumice, Lava Rock, and Perlite. This ensures maximum airflow and prevents the roots from sitting in "wet feet."

20% Organic Matter: A small amount of Coco Coir or Peat provides just enough nutrition to keep the plant healthy without causing it to outgrow its compact shape.
Why it works: By keeping the potting soil dry most of the time, you trigger the plant’s survival instinct to store water in the rosette. This is what creates that breathtaking "sugar heart" and crystal-clear leaf texture.
⚠️ Warning: Most store-bought succulent soils are too "heavy" (too much organic peat). For Controlled Cultivation, always "lean out" your soil by adding extra grit until it feels more like small pebbles than dirt.
3. Watering: Mastering the Art of Strategic Drought
In controlled cultivation, the golden rule is to listen to the plant, not the calendar. Only water your succulent when the bottom two or three layers of leaves feel soft, pliable, or show slight signs of wilting. This physical cue is the plant’s way of signaling that it has depleted its internal water reserves and is ready for a recharge.

Depending on your local climate, this cycle typically takes between two and four weeks. It is vital to resist the urge to water on a fixed schedule—let the plant’s condition be your only guide. When it is time to hydrate, use the bath watering method: submerge the pot in room-temperature water until air bubbles stop rising, then allow it to drain completely. This ensures the entire root ball is saturated without leaving stagnant water behind.

The secret to this technique lies in the "Tactical Wait"—intentionally extending the dry period even after the plant looks thirsty. This invisible stress is the heart of controlled cultivation, forcing the plant to maintain its compact, delicate form.
4. The Light Equation: Balancing Intensity and Duration
To achieve peak aesthetic results, lighting must be a perfect balance of power and patience. The ideal natural regimen consists of two hours of direct morning sunlight followed by six hours of bright, indirect light. This specific combination provides the energy needed to trigger vivid pigment production without risking sunburn on the plant's delicate, translucent tissues.
Optimizing for Indoor Growth
If you aren't growing in a "succulent paradise" like California, high-quality grow lights are an essential tool. To replicate the sun's effectiveness:

Spectrum: Select full-spectrum LED grow lights with a color temperature of 6500K (Daylight).
Proximity: Position the light source approximately 30 cm (12 inches) above the rosette.
The Rest Cycle: Provide 8–10 hours of light daily. Crucially, allow for 14–16 hours of total darkness—this "rest" period is when the plant actually processes the pigments that create its stunning colors.
Pro Tip: Light quality is just as vital as quantity. Low-quality bulbs or consistent overcast days won’t provide the "punch" required to develop those signature white lines and sugar hearts.
5. Temperature Manipulation: The Magic of Differential Thermals
While Spring and Fall provide the perfect natural conditions for controlled cultivation, Summer and Winter require more strategic intervention.

Summer Survival (Managing High Heat)
When temperatures climb above 30°C (86°F), succulents often lose their vibrancy and return to a "plain green" state as a survival mechanism. To combat this:
● Cooling: Relocate plants to the naturally coolest area of your home.
● Airflow: Utilize fans to facilitate evaporative cooling and prevent stagnant heat.
● Light Adjustment: Slightly reduce light intensity during peak heat to prevent leaf scorch.
Winter Protection (Managing the Cold)
While many succulents can withstand a light, brief frost down to -2°C (28°F), prolonged exposure to temperatures below 5°C (41°F) will stall growth.

● Indoor Transition: Move plants inside before the first hard freeze.
● Root Warmth: Consider a heat mat set to 10°C (50°F); this keeps the root system active while the surrounding air stays cool enough to maintain color.
● Drought Control: Significantly reduce watering—once every 3–4 weeks is usually sufficient for dormant plants.
6. Ventilation: The Unsung Hero of Succulent Health
Think of ventilation as the "breath of life" for your succulents. In a controlled cultivation setup, your plant is working hard to stay compact and colorful, and fresh air is what keeps that process running smoothly.
How to Master Your Airflow:
● The Fan Trick: Use small desk fans to create a "gentle breeze." You don't want a windstorm—just enough movement to keep the air from feeling stale.

● Fresh Air Access: Whenever the weather allows, crack a window to exchange indoor air for a fresh outdoor breeze.
● Give Them Space: Avoid the "jungle look" by not overcrowding your plants. Giving each succulent its own breathing room is the easiest way to prevent pests.
● Elevate Your Display: Instead of sitting pots directly on a flat surface, try using a slatted shelf or a raised stand to allow air to reach the drainage holes at the bottom.

Pro Tip: In the heat of summer, fans are no longer optional—they are a survival requirement for high-end succulents.
7. Top Dressing: The Finishing Touch for Controlled Cultivation
Think of top dressing as more than just "decor." For a plant undergoing controlled cultivation, those decorative stones are a vital tool. Wait about a month or so after repotting to ensure your roots are settled before adding your favorite grit or pebbles.
Why use it?
Stay Clean: No one likes soil-stained leaves! Top dressing keeps the dirt in the pot and off your plant.
Room to Breathe: It lifts the bottom leaves off the soil, giving the base of your succulent some much-needed breathing room to prevent "mushy" lower leaves.

Temperature Control: Using the right stones can help you hold onto that "magic" temperature shift between day and night.
Polish & Shine: A nice top dressing makes a "Snow Jenny" or any prize succulent look like a museum-quality piece.
Conclusion: The Journey to Genetic Perfection
Remember, controlled cultivation isn’t about forcing a succulent to be something it isn’t; it’s about providing the exact conditions it needs to unlock its true genetic potential. Every plant is a unique individual, and your specific home environment and local climate will shape its transformation in a way that is entirely your own.

This journey requires patience, precision, and a willingness to learn from every success and setback. While this method can be challenging—especially for those still mastering the basics of root health—the reward of a perfectly "stressed" specimen is immeasurable. If you're still working on the fundamentals, don’t worry; I’ll be sharing a deep dive into mastering strong root establishment in my next post.